Introduction
In today’s fast-paced digital world, having your Epson printer online is essential for maximizing efficiency, whether you’re working from home, managing a business, or simply printing documents and photos. Ensuring that your printer is connected seamlessly to your device is a crucial step to achieving optimal performance. This guide will offer you insights into setting up connections, installing the necessary drivers, configuring settings, and troubleshooting common issues. By following our comprehensive steps, you’ll discover that putting your Epson printer online is straightforward and manageable. Let’s explore how to get started.
Preparing for Connectivity
Before you embark on connecting your Epson printer to your network, it is crucial to gather all the necessary information and equipment. Begin by placing your printer near the Wi-Fi router to receive a strong signal, and ensure a reliable internet connection is available for seamless integration. Collect essential information such as your Wi-Fi network name (SSID) and password, as this will be important for later steps. Make sure your printer is plugged in and powered on. With these preparations in place, you can move on to installing the printer drivers; a critical step for ensuring effective communication with your devices.

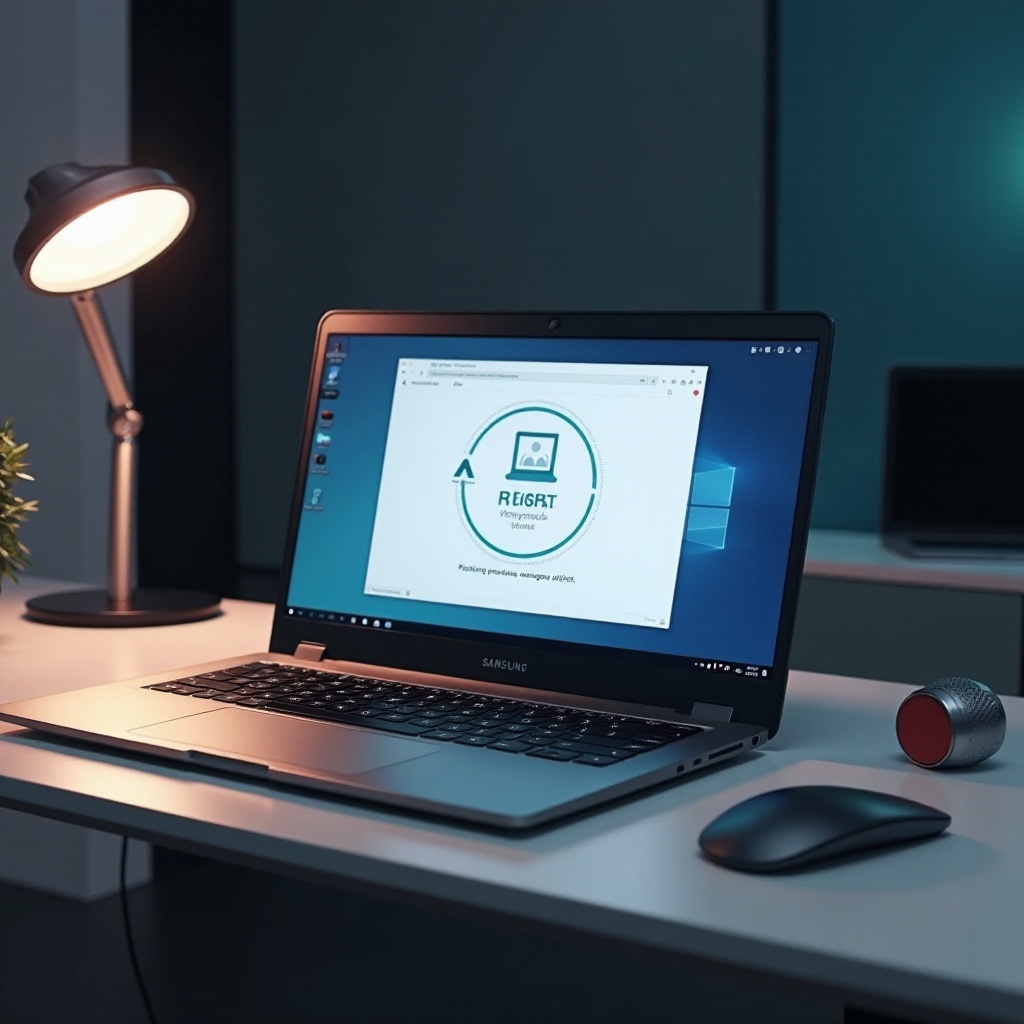
Installing Epson Printer Drivers
Drivers serve as a bridge that enables your computer to communicate with the printer effectively. Below is a step-by-step guide to install them:
-
Visit Epson’s Official Website: Navigate to Epson’s support page to locate drivers specific to your printer model.
-
Download the Driver Software: Enter your printer model, select your operating system, and download the appropriate driver.
-
Install the Driver: Open the downloaded file and follow the on-screen instructions to complete the installation.
-
Restart Your Computer: This ensures all changes take effect, thereby facilitating a smooth communication process between your printer and device.
Having installed the drivers, you are now ready to proceed with connecting your printer to Wi-Fi.
Connecting Your Epson Printer to Wi-Fi
With your printer prepped and the drivers installed, it is time to connect the printer to your Wi-Fi network. Follow these steps:
-
Access the Printer’s Menu: Use the printer’s control panel to navigate to the Wi-Fi setup menu.
-
Select Your Wi-Fi Network: Choose your home or office network from the available options.
-
Enter the Wi-Fi Password: Input your network password when prompted by the system.
-
Confirm the Connection: Wait for a message confirming the successful connection.
Successful connection allows wireless printing from any device, increasing your workspace efficiency. We’ll now transition into configuring printer settings on your device to enhance performance.
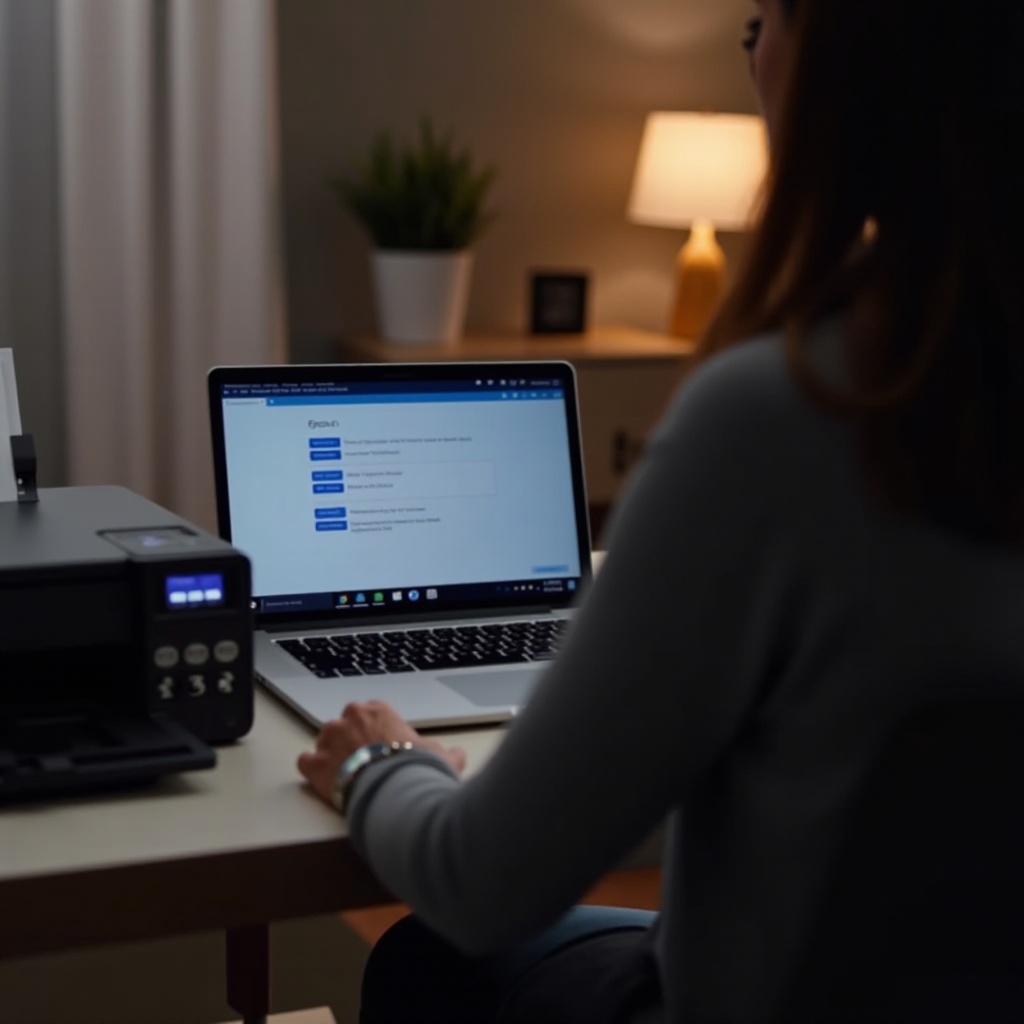
Configuring Printer Settings on Your Device
Getting your Epson printer online is only part of the process; configuring settings on your device is equally important. Follow the steps below:
-
Open Devices and Printers: On your computer, access ‘Devices and Printers’ via the Control Panel.
-
Add a Printer: Select ‘Add a Printer’ and choose your Epson model from the listed options.
-
Set it as the Default Printer: Right-click on your Epson printer and select ‘Set as default printer’ for ease of use.
-
Adjust Print Settings: Prior to printing, go to ‘Printer Preferences’ to set parameters like paper size and print quality.
With the settings in place, you are set to print efficiently. However, technical issues may arise. Let’s discuss troubleshooting common connectivity problems.
Troubleshooting Common Issues
Challenges may emerge despite an exemplary setup. Below are solutions to some of the common connectivity issues you might face:
-
Check Network Status: Verify the printer’s current connection to Wi-Fi from the display panel.
-
Update Drivers: Connectivity issues might arise from outdated drivers, so regularly check for updates on Epson’s site.
-
Restart Devices: Occasionally, simply restarting your printer, router, and computer resolves connectivity woes.
-
Check Firewall Settings: Sometimes firewalls block the printer’s communication; consider temporarily disabling them to resolve the issue.
-
Printer Reset: As a last resort, reset your printer’s network settings and reconnect it to Wi-Fi.
Solving these issues helps maintain a reliable connection. As we conclude, let’s recap our discussion and share some final thoughts.
Conclusion
Bringing your Epson printer online is not as complicated as it may initially seem. By preparing adequately, installing drivers correctly, setting up Wi-Fi with care, and addressing issues promptly, you can maintain a consistent online connection for your printing needs. This guide has equipped you with the tools needed to achieve and sustain your Epson printer’s online status, ensuring smooth productivity. Staying abreast of technological advances and solutions will only enhance your printing experience in the future.
Frequently Asked Questions
How can I find the IP address of my Epson printer?
Navigate to your printer’s menu and select ‘Network Status’ or use the Epson Utility software on your computer.
What should I do if my Epson printer keeps disconnecting from Wi-Fi?
Ensure your router is close to the printer, check the network status on it, and update your printer’s drivers.
Is it possible to connect my Epson printer to a different network?
Yes, navigate to the Wi-Fi setup in your printer’s menu and select a different network from the list of available options.